

Contents of the article
Plugin toolbar
The EasyKitchen program includes the Replacement and Report plugin, which consists of three useful tools:
Let's look at working with each of them in more detail.
Material Replacement
This is the first button on the left in the plugin, called “Change Material.” The function of this tool is to replace materials on the specified module parts.

First, you need to select one or more modules with the mouse where you want to replace materials. When you click this plugin button, a window similar to the following appears:
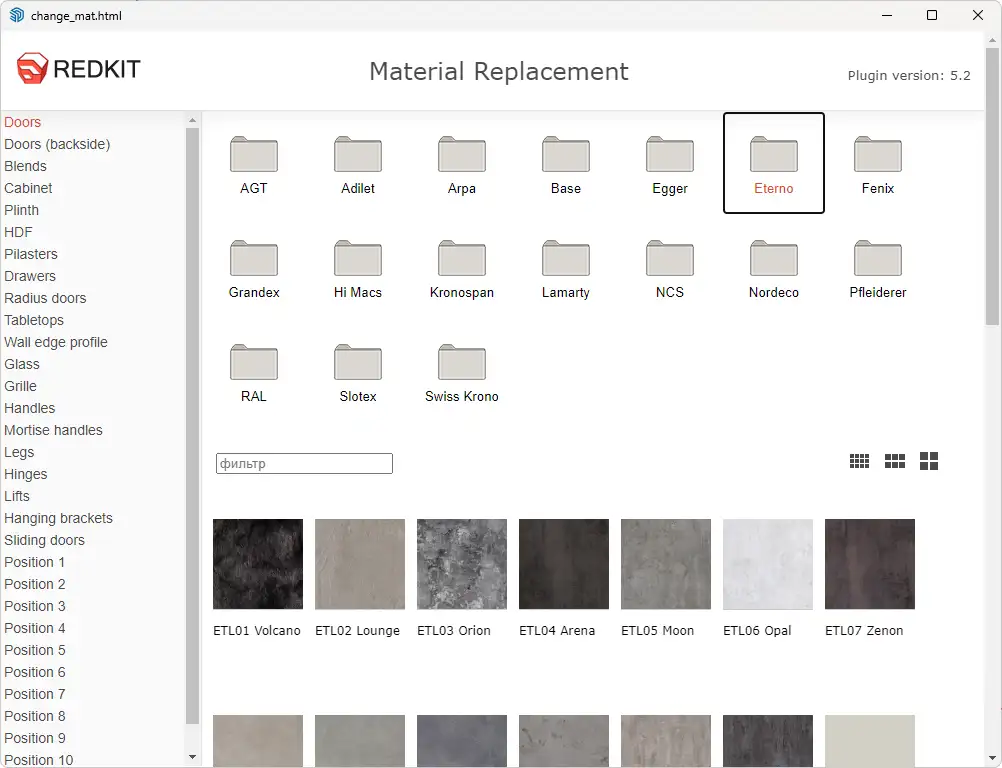
On the left side of the window, there is a list of parts where materials can be replaced. For example, if you need to change the cabinet body texture, select “Cabinet", then choose the folder containing the desired texture, find it in the opened list, and click on it. All body textures of the selected modules will be replaced.
To find the desired texture in the selected folder more quickly, you can use the filter — simply start typing its name, and the list will narrow down to the matching textures.
If the project is very large, the plugin’s processing time may increase. Therefore, it’s recommended to replace materials gradually — a few modules at a time.
If you need to perform the replacement faster, it’s better to use the Material Replacer plugin.
Component Replacement
This is the second button from the left in the plugin, called “Change Component.” The functionality of this tool is similar to that of the “Change Material” button, with the only difference being that it replaces entire components instead of textures.

This tool allows you to replace fronts, handles, and other module components that support the hot-swap function. First, you need to select one or more modules with the mouse where you want to replace components.
When you click this plugin button, a window like the following appears:
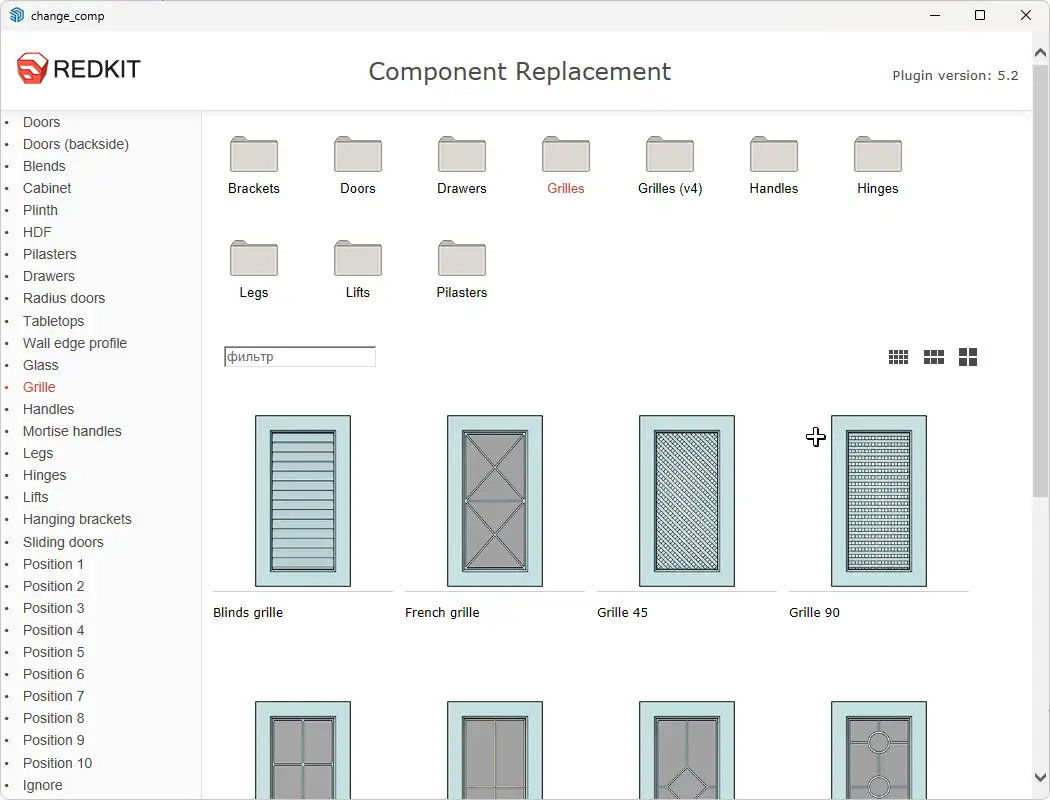
On the left side, you’ll see the same list of parts as in the Material Replacement tool. For example, if you need to change the fronts in one or several modules, select “Фасады” (Fronts), then choose the folder containing the desired front, find it in the opened list, and click on it. All fronts of the selected modules will be replaced.
To find the desired component more quickly in the selected folder, you can use the filter — simply start typing its name, and the list will narrow down to the matching components.
Depending on the number of parts and the overall project size, component replacement may take some time. If the project is large, it’s better to perform the replacement one module at a time.
Important!
The “Outliner” window must be closed before performing material or component replacement with this plugin. Otherwise, the processing time will increase significantly.
Report Generation
The last button in the plugin is for generating a project report.
To generate a report, first save your project, then select with the mouse all the modules whose parts should be included in the report, and click this button:

Depending on the project size, report generation may take some time (from a few seconds to several minutes). Once the report is ready, you can proceed to process it. For more details, see the article Redcut Report Processor.