

Contents of the article
What are binding axes used for?
Binding axes (or Anchor Axes) are a convenient feature of the EasyKitchen program. Almost every module and element has them. Their purpose is to ensure the correct positioning of modules in the program’s workspace.
Simply put, these “lines” around the modules allow you to quickly and precisely place a cabinet flush against its neighbor — with no misalignment at all. And that’s often very important.
Features of the binding axes
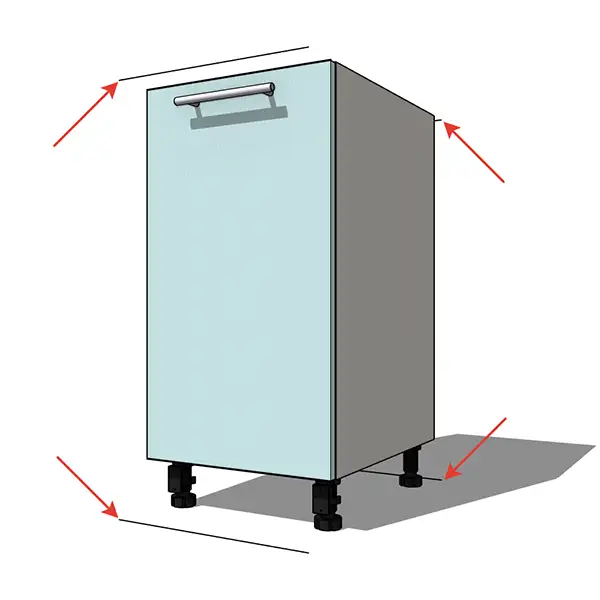
Binding axes can be positioned differently depending on the purpose and characteristics of the module or element. For most kitchen modules, they appear as lines located at the outer edges of the module’s bounding box (front top, front bottom, back top, and back bottom). The length of these lines usually matches the module’s length — which also makes it easy to place dimensions.
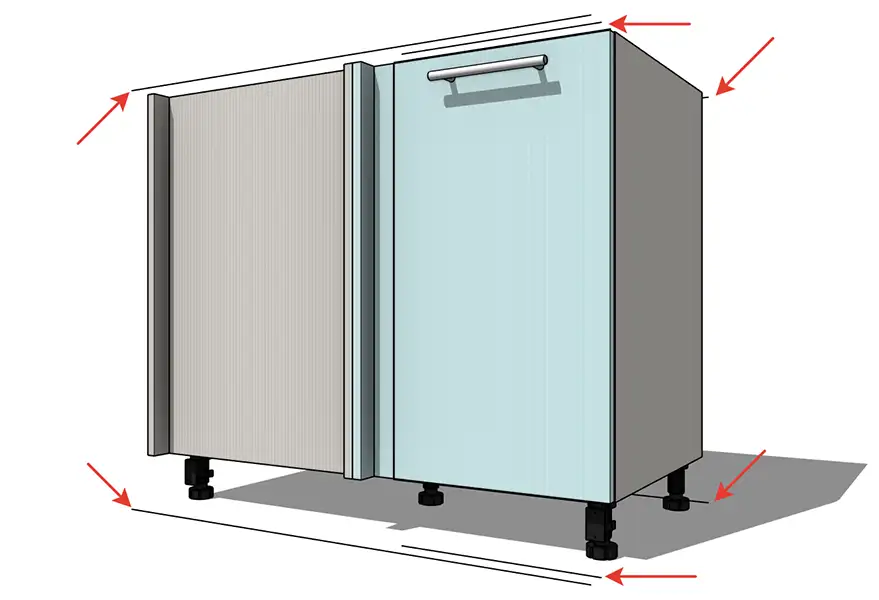
For some modules, mainly corner ones, the binding axes may be positioned diagonally, following the angle formed by the front. There are also additional alignment lines besides the main ones. For example, in corner connection modules, they help precisely position adjacent kitchen modules at a 90-degree angle.
The reference point of a module is usually at its front bottom-left corner. This means that when you drag a module from the library, your mouse “holds” it by this corner — exactly at the binding axis point. You just need to move the module until it reaches the front bottom-right corner (which also has an binding axis) of the neighboring module, and SketchUp will automatically “snap” them together. The positioning will be perfectly accurate. That’s why, for example, it’s more convenient to design kitchen layouts from left to right.
Here’s what the binding axes look like on one of the library’s modules:
And here’s the BG1 module. It has additional binding axes represented by extra lines:
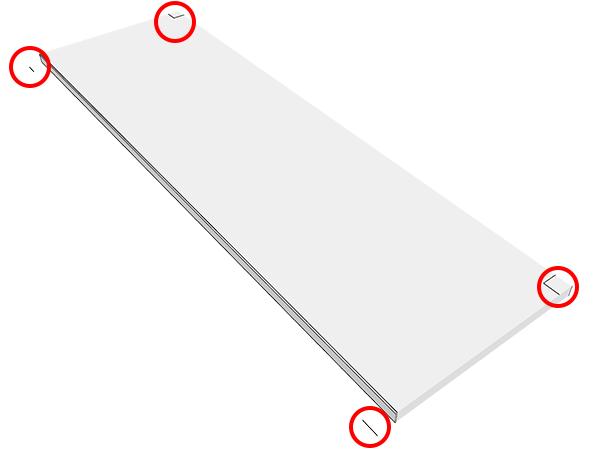
Many additional elements — such as countertops, backsplashes, GOLA profiles, and others — may have binding axes of different shapes, sizes, and positions. However, these are also carefully calibrated to ensure correct alignment of these elements relative to other modules.
Hiding and showing binding axes
Binding axes are only needed during the design stage. Once all project elements are positioned, they can be hidden. To do this, open the “Tags” window in the right-hand panel of the program. Find the “Binding Axes” item and uncheck it. That’s it — the binding axes are now hidden.
To display them again, simply check the box next to this item.

Video: Binding Axes
In this video, we’ll take a detailed look at what binding axes are and how to use them to make your furniture design process faster and more precise. Enjoy watching!
If the video doesn't open, here is a direct link to the video.