


Contents of the article
Methods for resizing a module
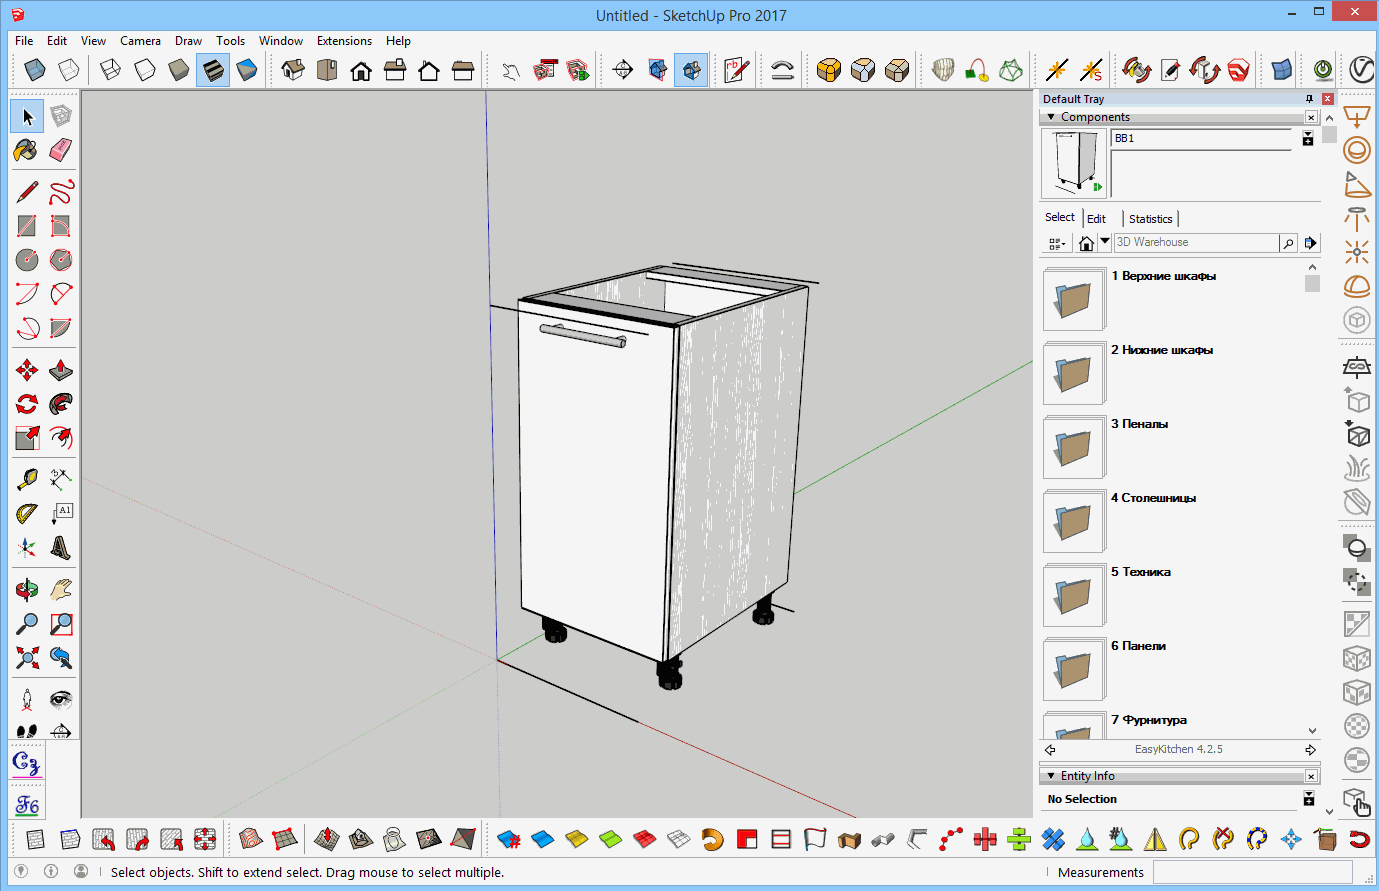
After placing a module in the workspace, you’ll usually need to adjust its size.
There are two ways to do this: use the Scale tool or modify the component’s parameters.
Resizing with the Scale tool
You can use SketchUp’s standard Scale tool. You can find detailed instructions for this tool in the official documentation at the provided link.
You can select the tool by clicking its icon on the toolbar or by pressing the “S” key on your keyboard.
At this moment, the module’s bounding box will turn yellow, and small green handles will appear on the sides that can be resized. You can grab these handles with your mouse to stretch or shrink the module.
To set an exact size, click once on the green handle (do not hold the mouse button — just a single click), then type the desired value on your keyboard, add the unit “mm” (without quotes), and press Enter. The module will then resize along that axis.

Resizing via parameters
The second option is to use the Component Options window.
It contains various parameters that allow you to control the module — including its dimensions.
Open this window, enter the desired values, and then press Enter or click the Apply button at the bottom of the window.
You can change as many parameters as you like at once.
For example, you can adjust the module’s length, height, and depth, then press Enter, and the module will resize in all three directions.
Unlike regular SketchUp models, resizing a module does not deform its geometry.
Nothing gets stretched, and no gaps appear between panels — all components retain their thickness and correct positioning.
This is one of the key features of the EasyKitchen program.
Video: Resizing modules
There are two ways to change a module’s size — use the Scale tool or modify the component’s parameters. That’s what we’ll cover in this video. I will describe each action in great detail so that even beginners can understand.
If the video doesn't open, here's a direct link to the video.