Contents of the article
Installing Fronts and Handles
All EasyKitchen add-ons come with convenient installers, including EasyFacades and EasyHandles. You simply need to download them and run each installation file — the installer will automatically place the fronts and handles into the correct folders.
Manual Installation of Plugin Components
Sometimes you may need to manually add a new front or handle to the Replacement plugin. To do this, open the plugin’s folder. In Windows, it can be found at the following path:
C:\Users\****\AppData\Roaming\SketchUp\SketchUp 2024\SketchUp\Plugins\DC_Change_Mat
(where **** is your Windows username)
Or, a shorter version:
%AppData%\SketchUp\SketchUp 2024\SketchUp\Plugins\DC_Change_Mat
Replace 2024 with your version of SketchUp.
The “AppData” folder may be hidden. You can either type AppData directly into the address bar, or make it visible by following these steps:
- Open File Explorer from the taskbar.
- Select View > Options > Change folder and search options.
- Open the View tab and, under Advanced settings, enable Show hidden files, folders, and drives, then click OK.
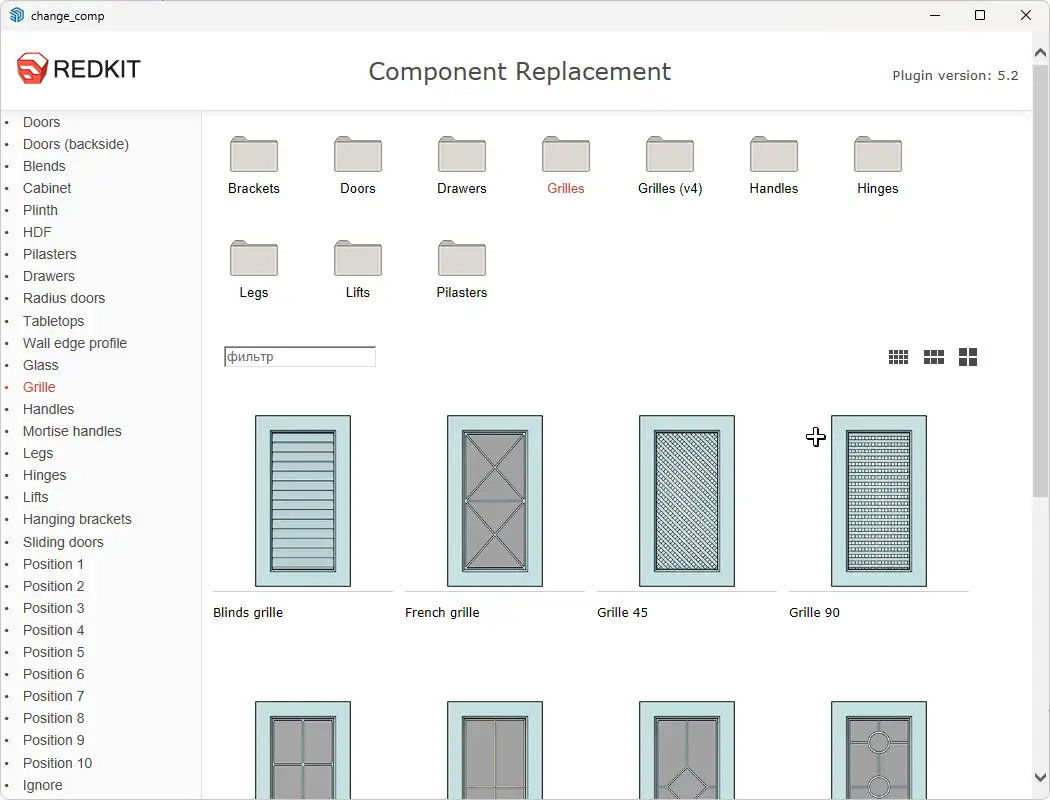
For example, if you need to add a new front, open the plugin folder and navigate to the “Components” folder. Then, open the “Doors” folder and extract the archive with the new front there.
After that, restart SketchUp, and all the added components will appear in the plugin window.
The same applies to handles — just extract them into the “Handles” folder instead.