

Article Contents
General Information
This versatile tool allows you to replace materials or entire components—such as doors, handles, drawers, and more—on one or multiple selected modules in just a few clicks.

How It Works
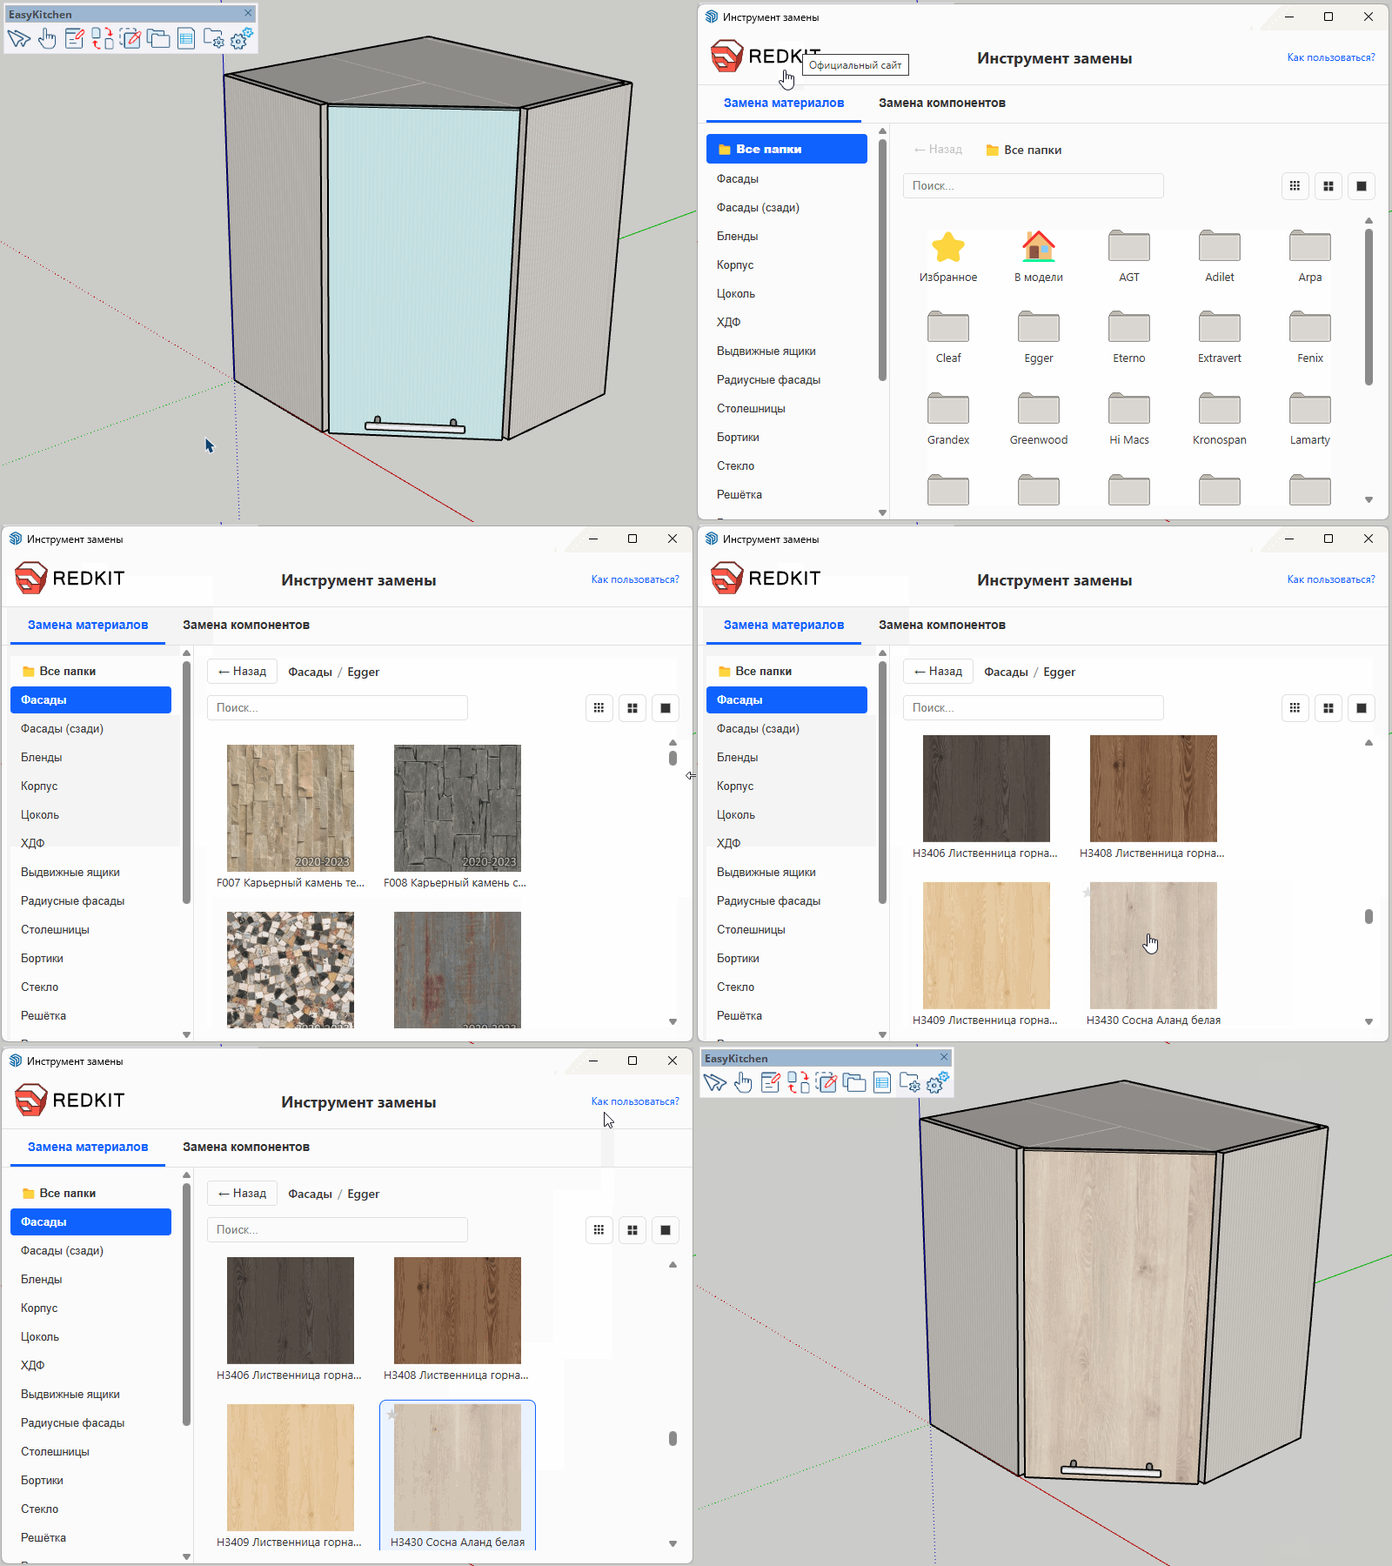
First, select one or more modules or components you want to modify. Then launch the Replace Materials & Components tool.
The window contains two main tabs:
- Replace Materials – replaces materials on selected part types.
- Replace Components – replaces selected component types.
Below these tabs, the window is divided into two sections:
- Left panel – a list of available replacement categories.
- Right panel – folders containing replacement materials or components.
The workflow is simple:
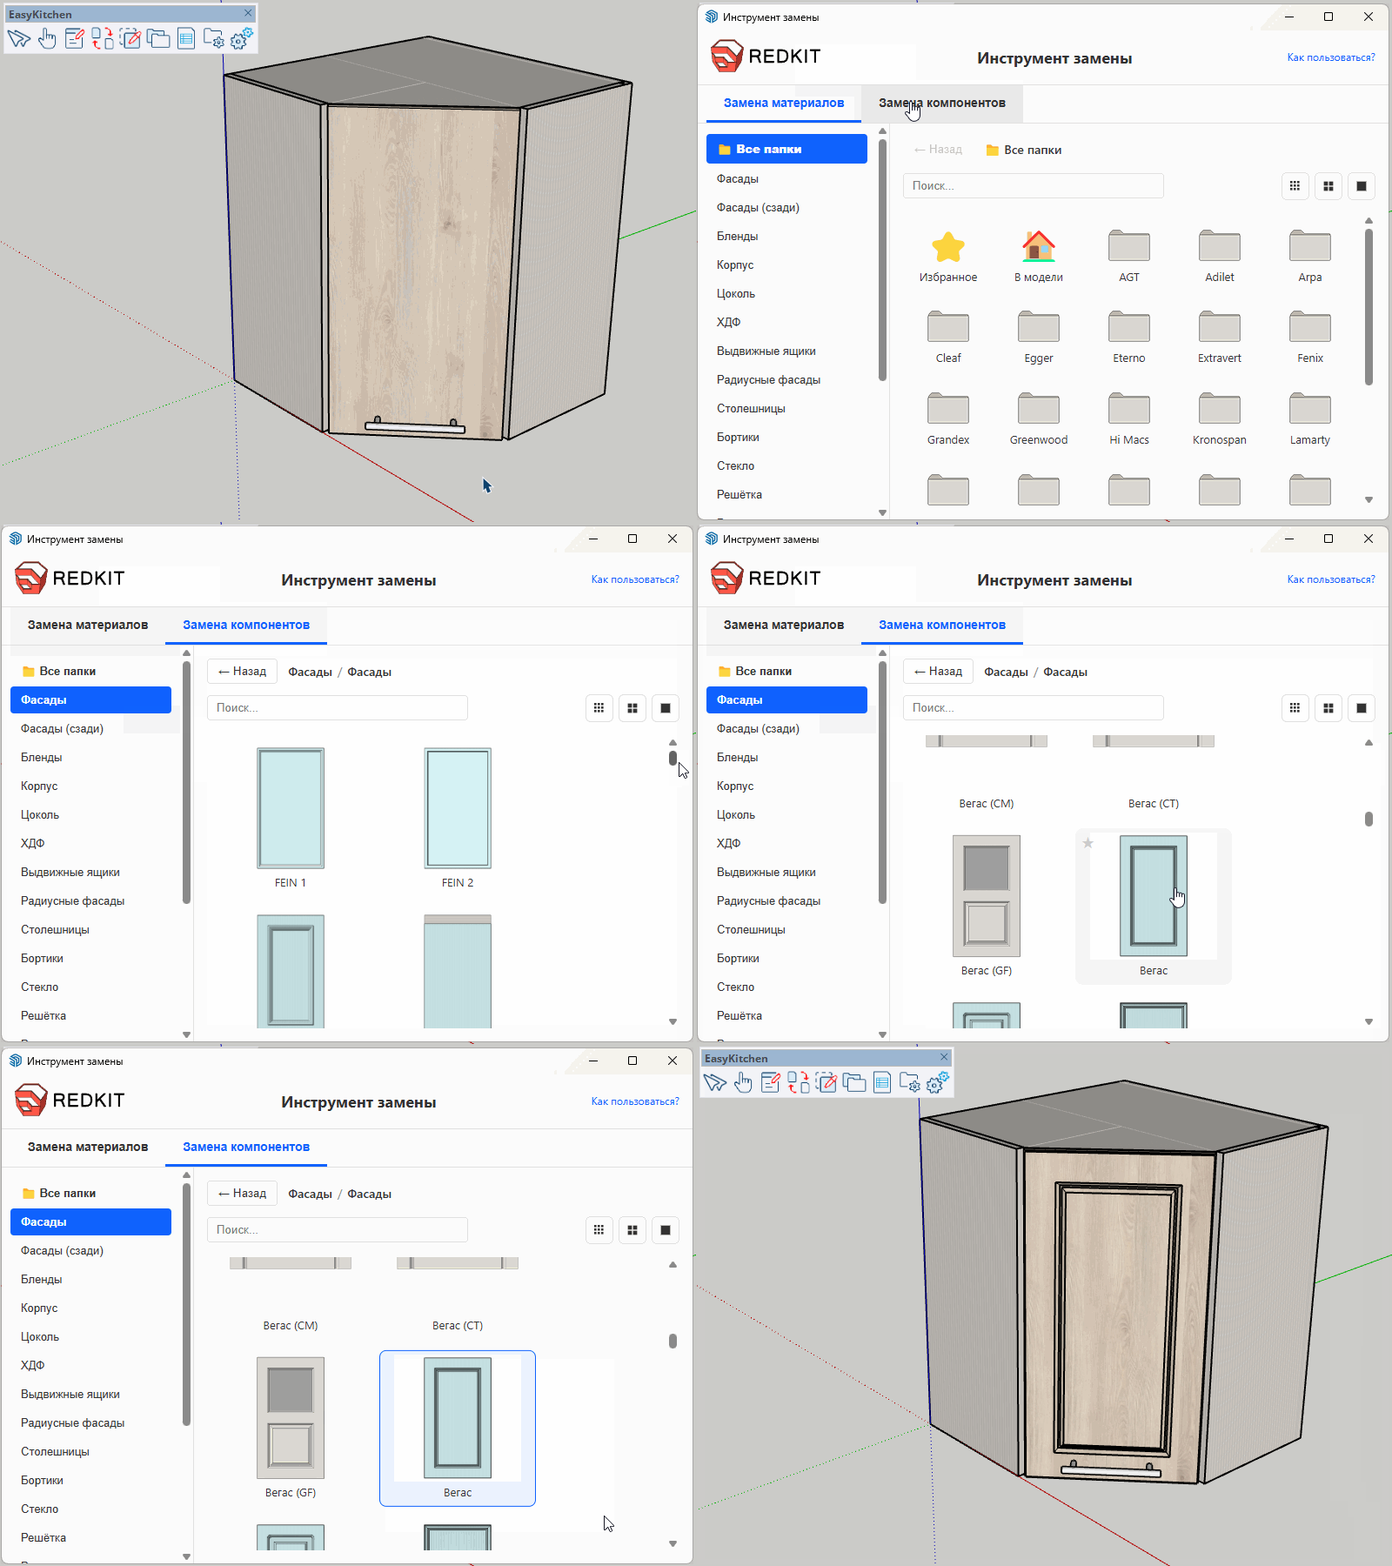
- Select the appropriate tab.
Choose Replace Materials if you want to replace materials.
Choose Replace Components if you want to replace components.
- Select the category on the left.
For example, choose Cabinet to replace cabinet materials.
Choose Drawers to replace drawer systems.
- In the right panel, choose the material or component you want to apply.
The replacement begins immediately.
Tool Performance
Replacing materials is generally very fast, even in large projects.
Replacing components is a more complex operation and usually takes longer. For large projects, it is recommended to replace components on only a few modules at a time. Alternatively, configure one module first, then use the Copy Style tool to transfer its configuration to the remaining modules.
Search Field
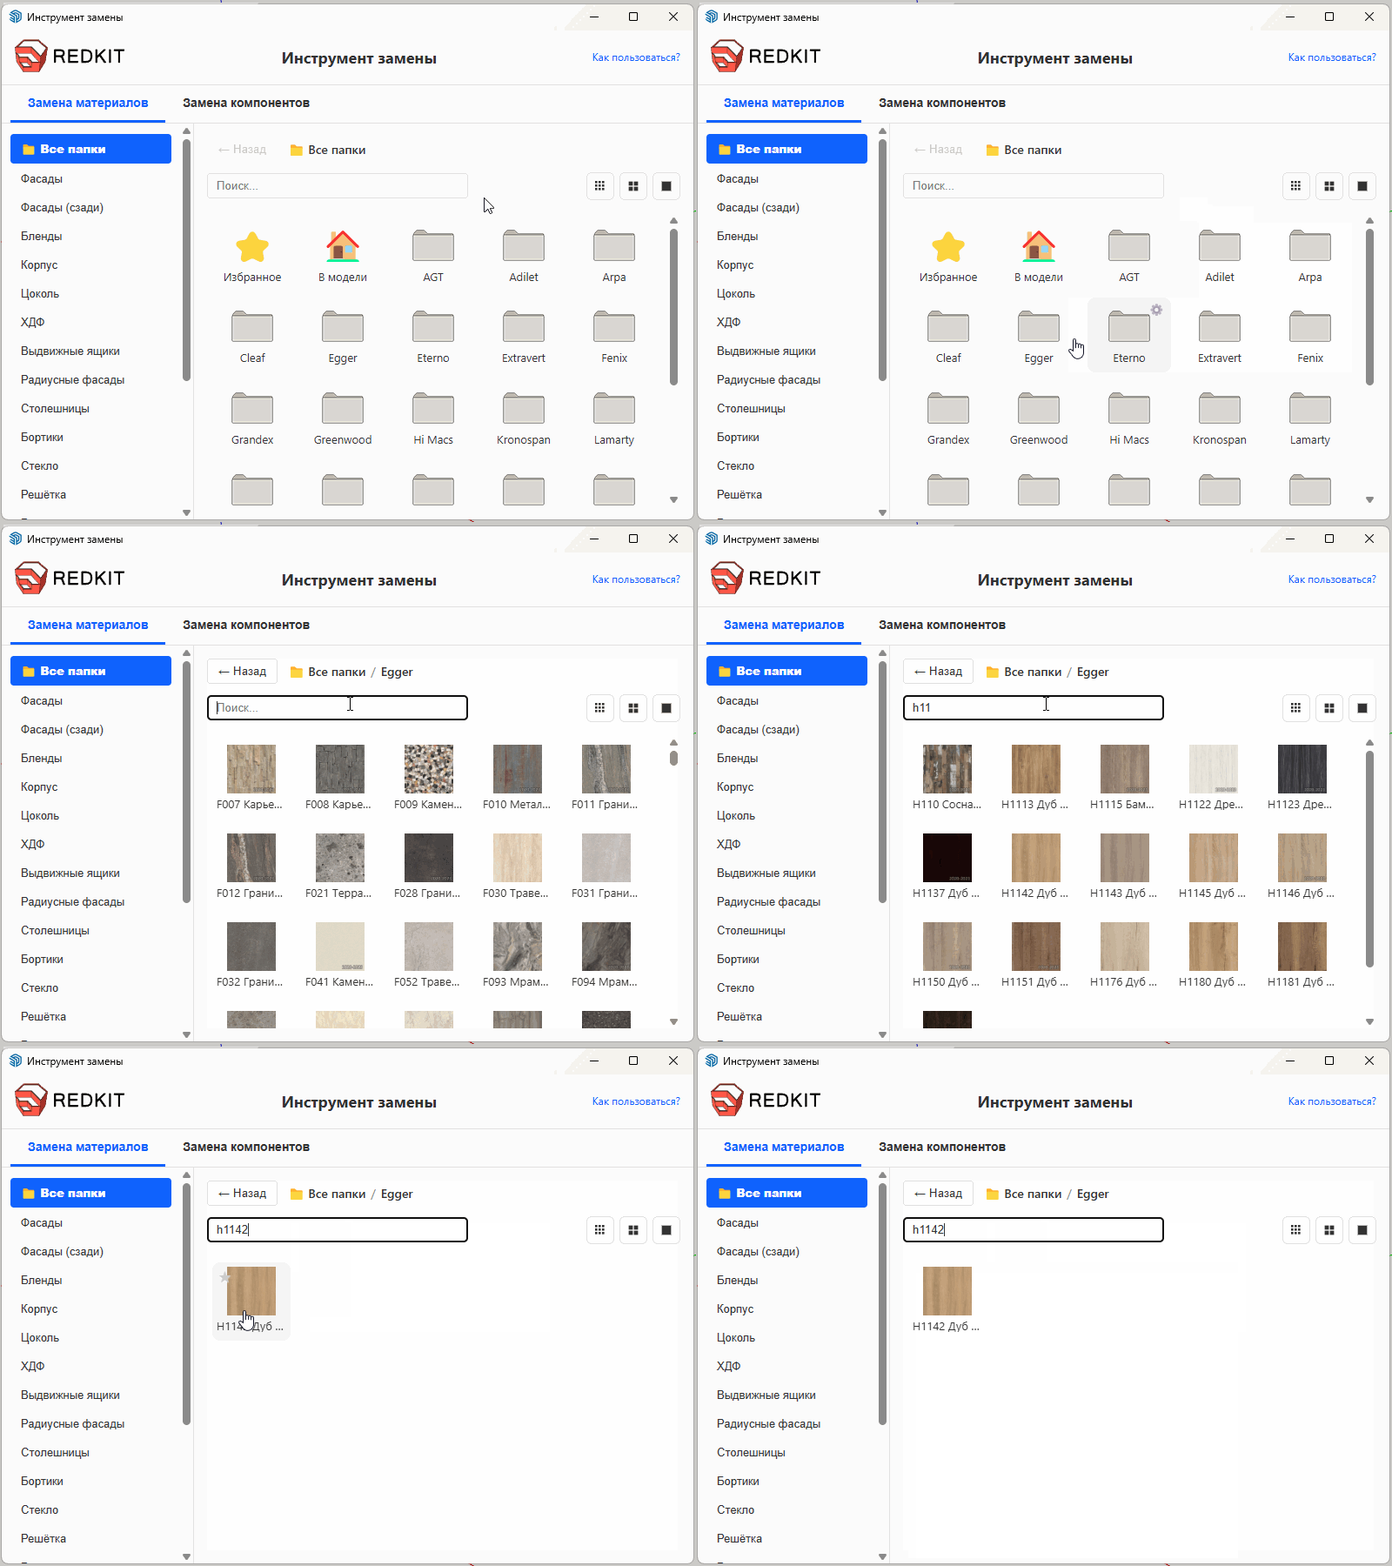
If a folder contains many materials or components, you can quickly find what you need using the search field. Simply enter part of the material or component name. The list is instantly filtered to display only matching results.
The same search works for components. For example, typing Legrabox immediately displays all matching drawer systems.
The search field searches only within the currently opened folder.
Favorites Folder
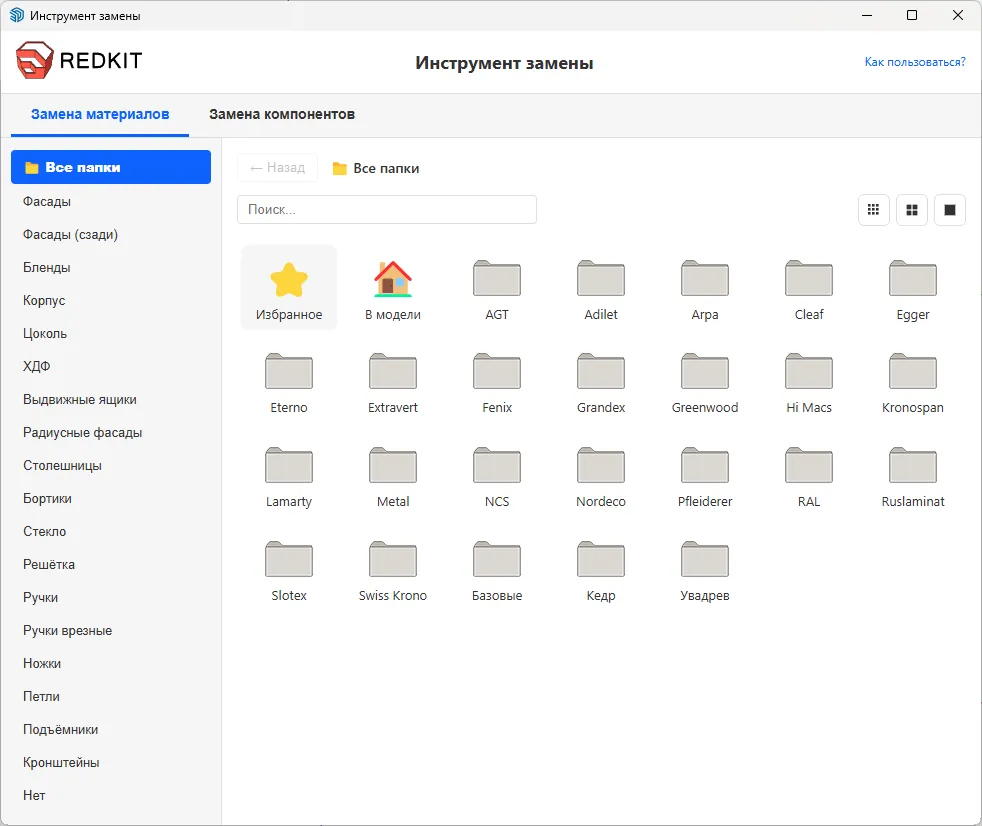
Frequently used materials and components can be added to Favorites.
The Favorites folder stores every material and component you've marked for quick access.
To add an item to Favorites:
- Hover over the material or component.
- Click the star icon that appears in the upper-left corner of its preview.
The item is immediately added to the Favorites folder.
In Model Folder
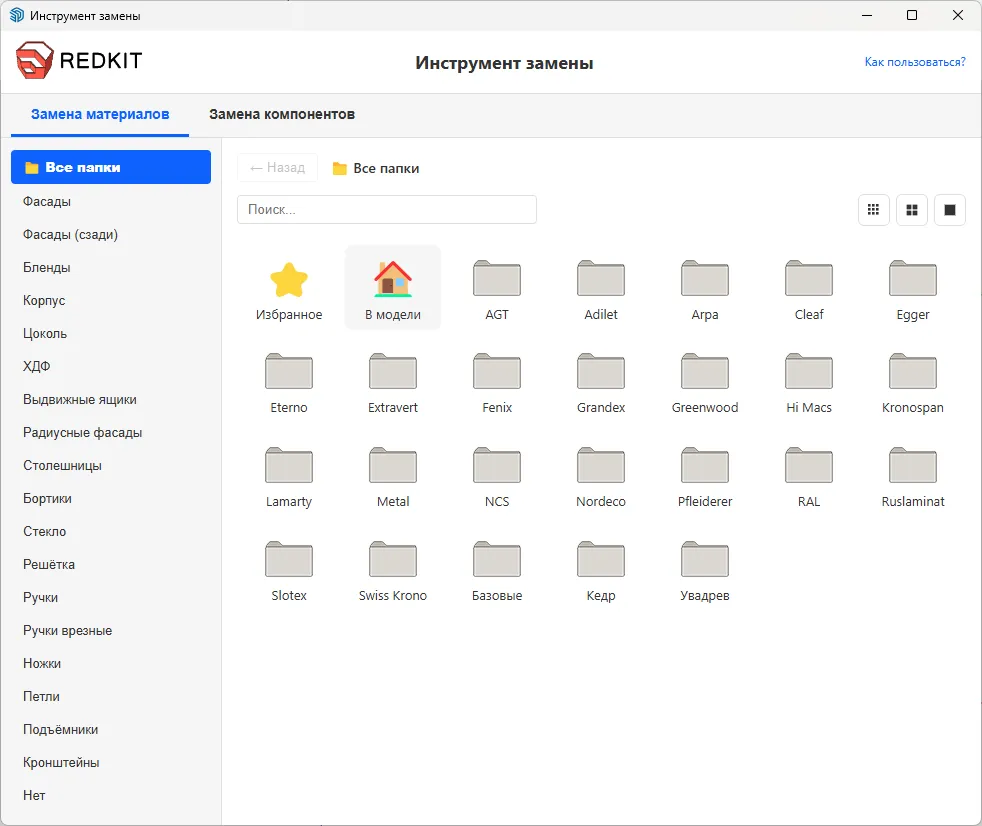
The In Model folder contains every material and component currently used in the active SketchUp project. This makes it easy to reuse existing materials and components without searching through the library again.
Folder Tag Settings
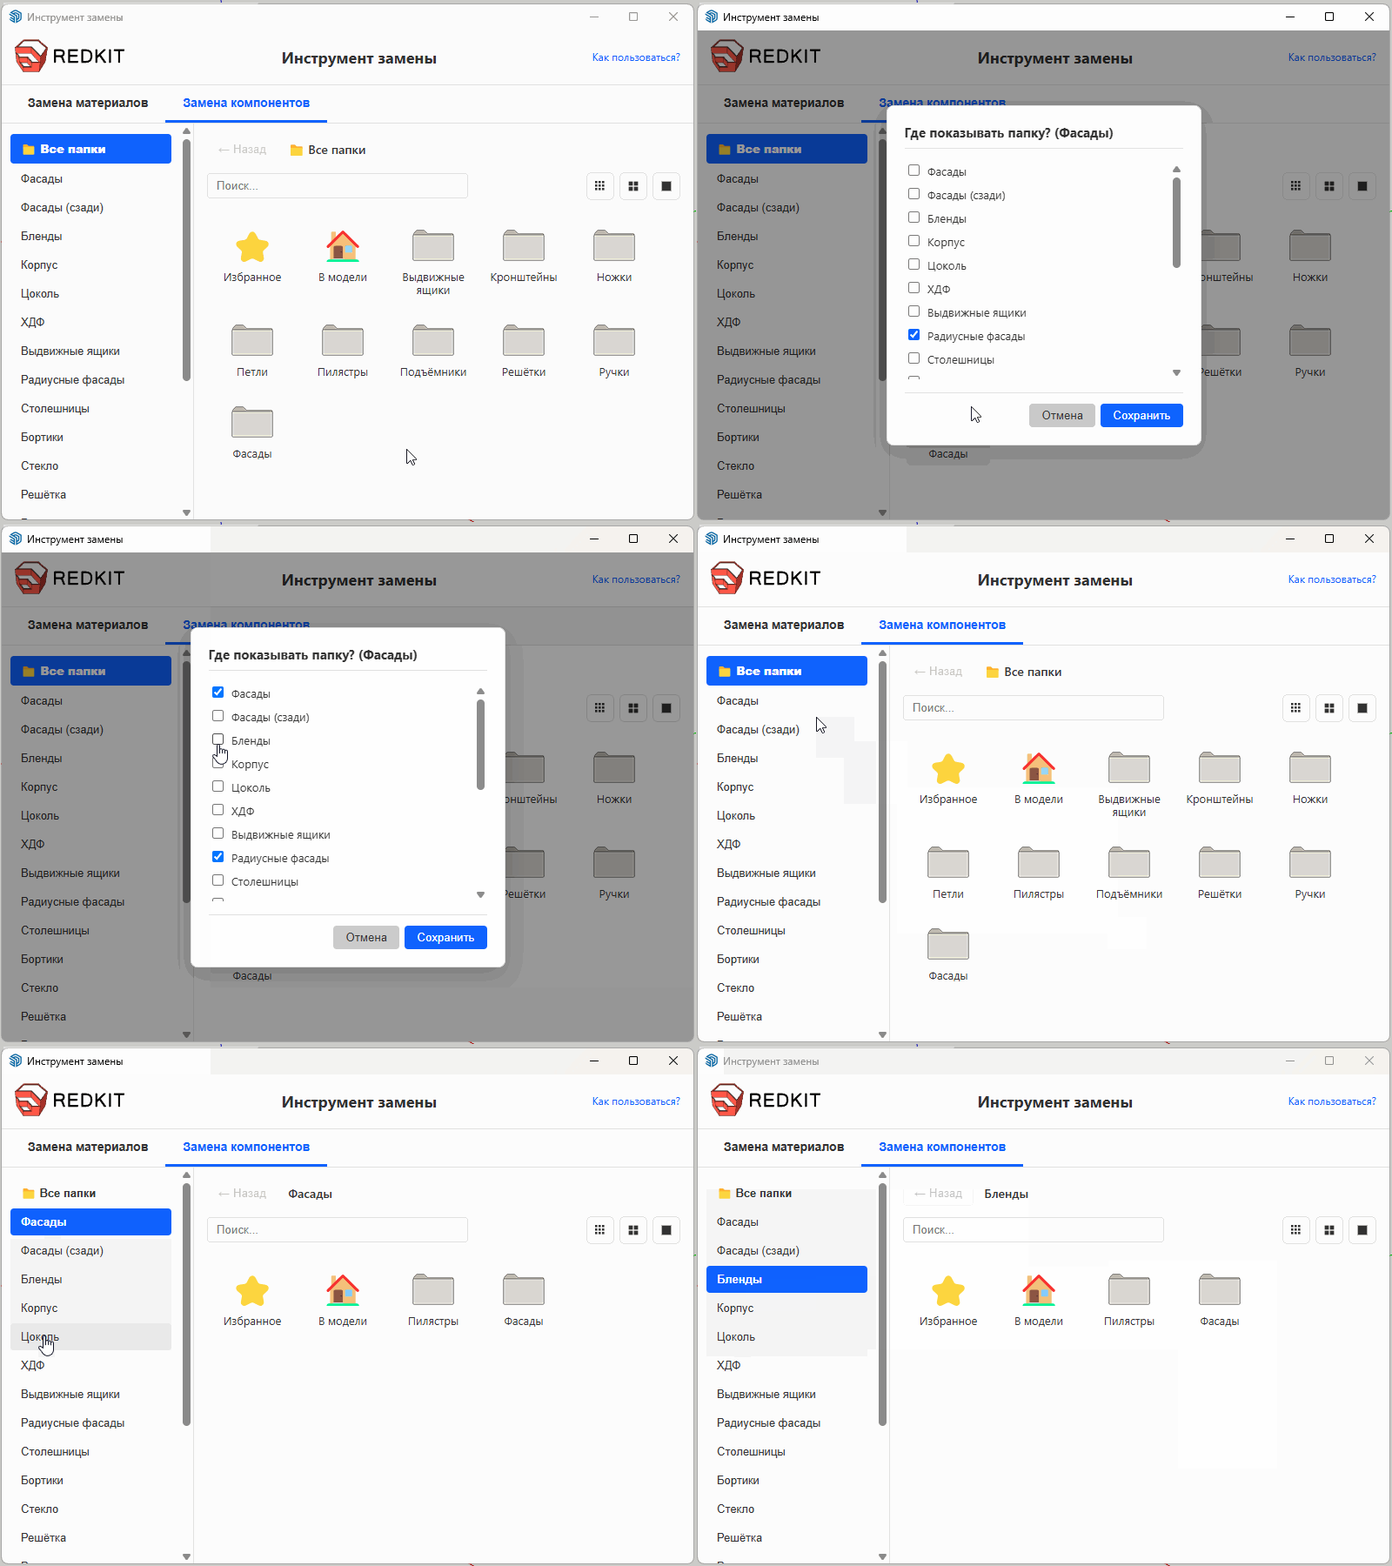
Folders displayed in the right panel can be assigned one or more tags. These tags determine for which categories the folder will appear.
By default, all library folders are already configured appropriately. However, you can customize these associations.
For example, if you create a new folder containing countertop materials, you can configure it so that it appears only when the Countertops category is selected.
To edit folder tags:
- Hover over the folder.
- Click the gear icon.
- Select the categories where the folder should appear.
- Click Save.
A folder can be associated with one or multiple categories.
Nested Folder Support
The tool fully supports nested folders. You are free to organize your material library into any folder hierarchy that suits your workflow.
To do this, simply reorganize the folders inside the Materials directory of the EasyKitchen plugin.
For example, you could create a folder named Chipboard (MFC) and move all chipboard material folders into it. After restarting SketchUp, the new folder hierarchy will appear automatically in the Replace Materials tab.
Adding Custom Materials
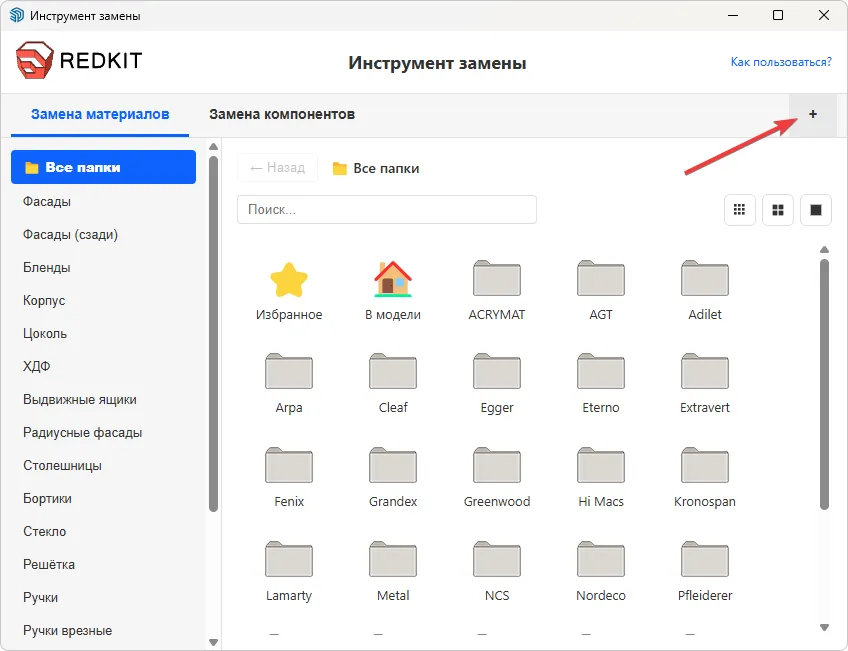
Starting with EasyKitchen 5.8.5, the Replace Materials tab includes a + button for importing your own material collections. Click the button and select a folder containing your material images.
Supported image formats:
- PNG
- JPG
EasyKitchen automatically:
- imports the folder,
- converts all images to the SketchUp SKM material format,
- creates thumbnails,
- and sets each material to the maximum available texture size.
After importing, simply configure the folder tags as described earlier in this article so the new materials appear in the appropriate replacement categories.